W15 <<
Previous Next >> W17
W16
項目1 : Onshape 零組件繪製
以下是我自行繪製的零件,影片是我使用Onshape軟體的繪製零件教學。
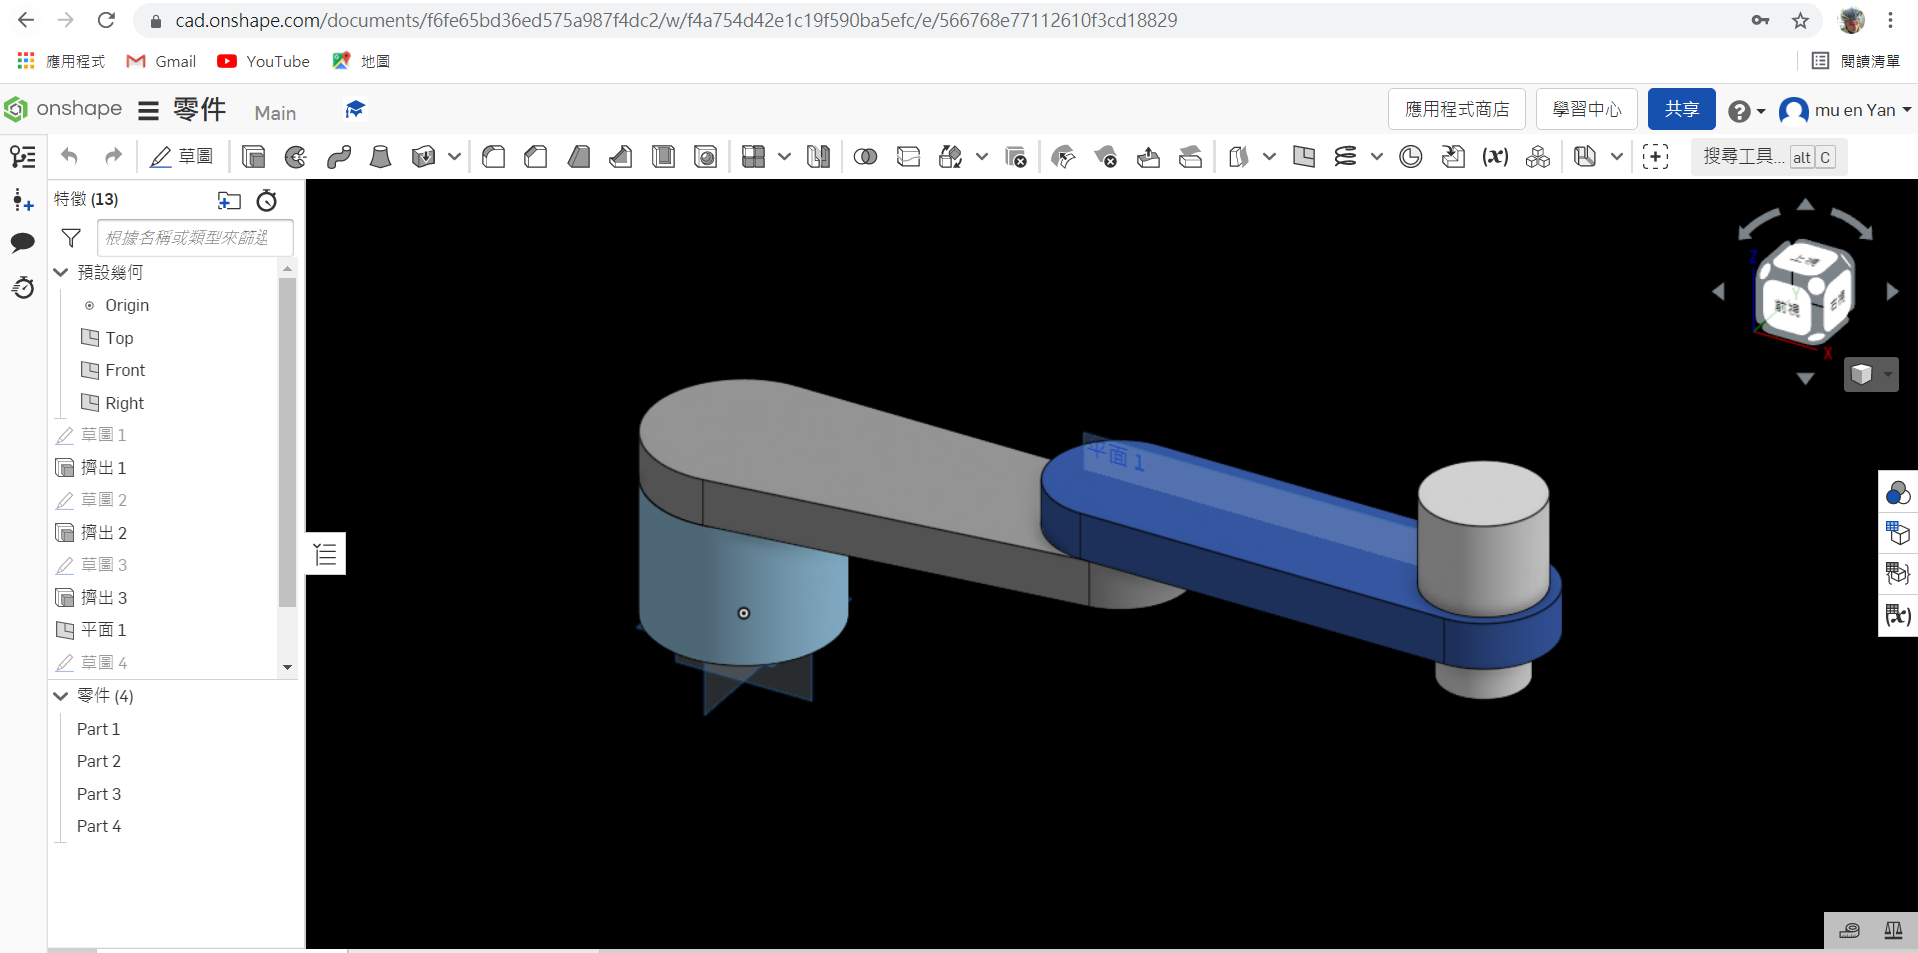
onshape圖檔網址:
https://cad.onshape.com/documents/f6fe65bd36ed575a987f4dc2/w/f4a754d42e1c19f590ba5efc/e/566768e77112610f3cd18829
onshape圖檔連結:onshape個人線上繪圖連結
機械手臂下載點:機械手臂STL檔
項目2 : 建立 CoppeliaSim 4.1.0 MTB robot 場景
透過自行繪製之零件輸入 CoppeliaSim 後,組合為 MTB robot 模型,並利用 Leo Editor 以 require 導入 Lua 程式運作,分別控制各軸轉動示範,以下有我的影片示範,以及各個按鍵的功能。
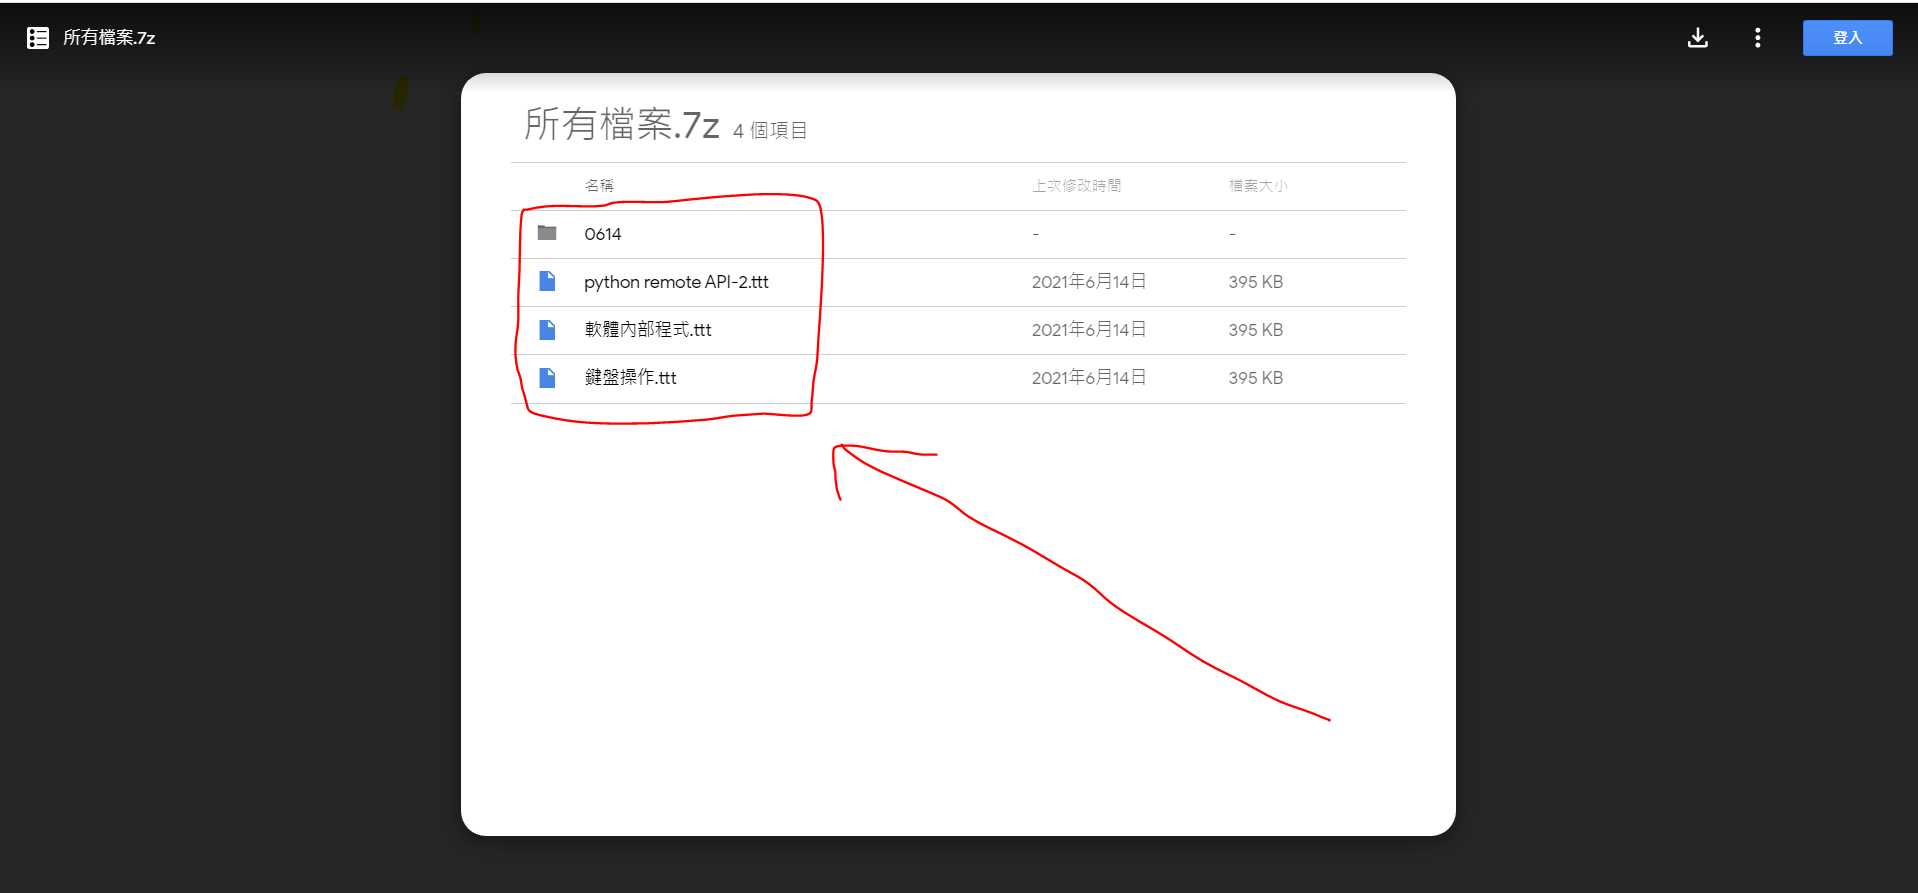
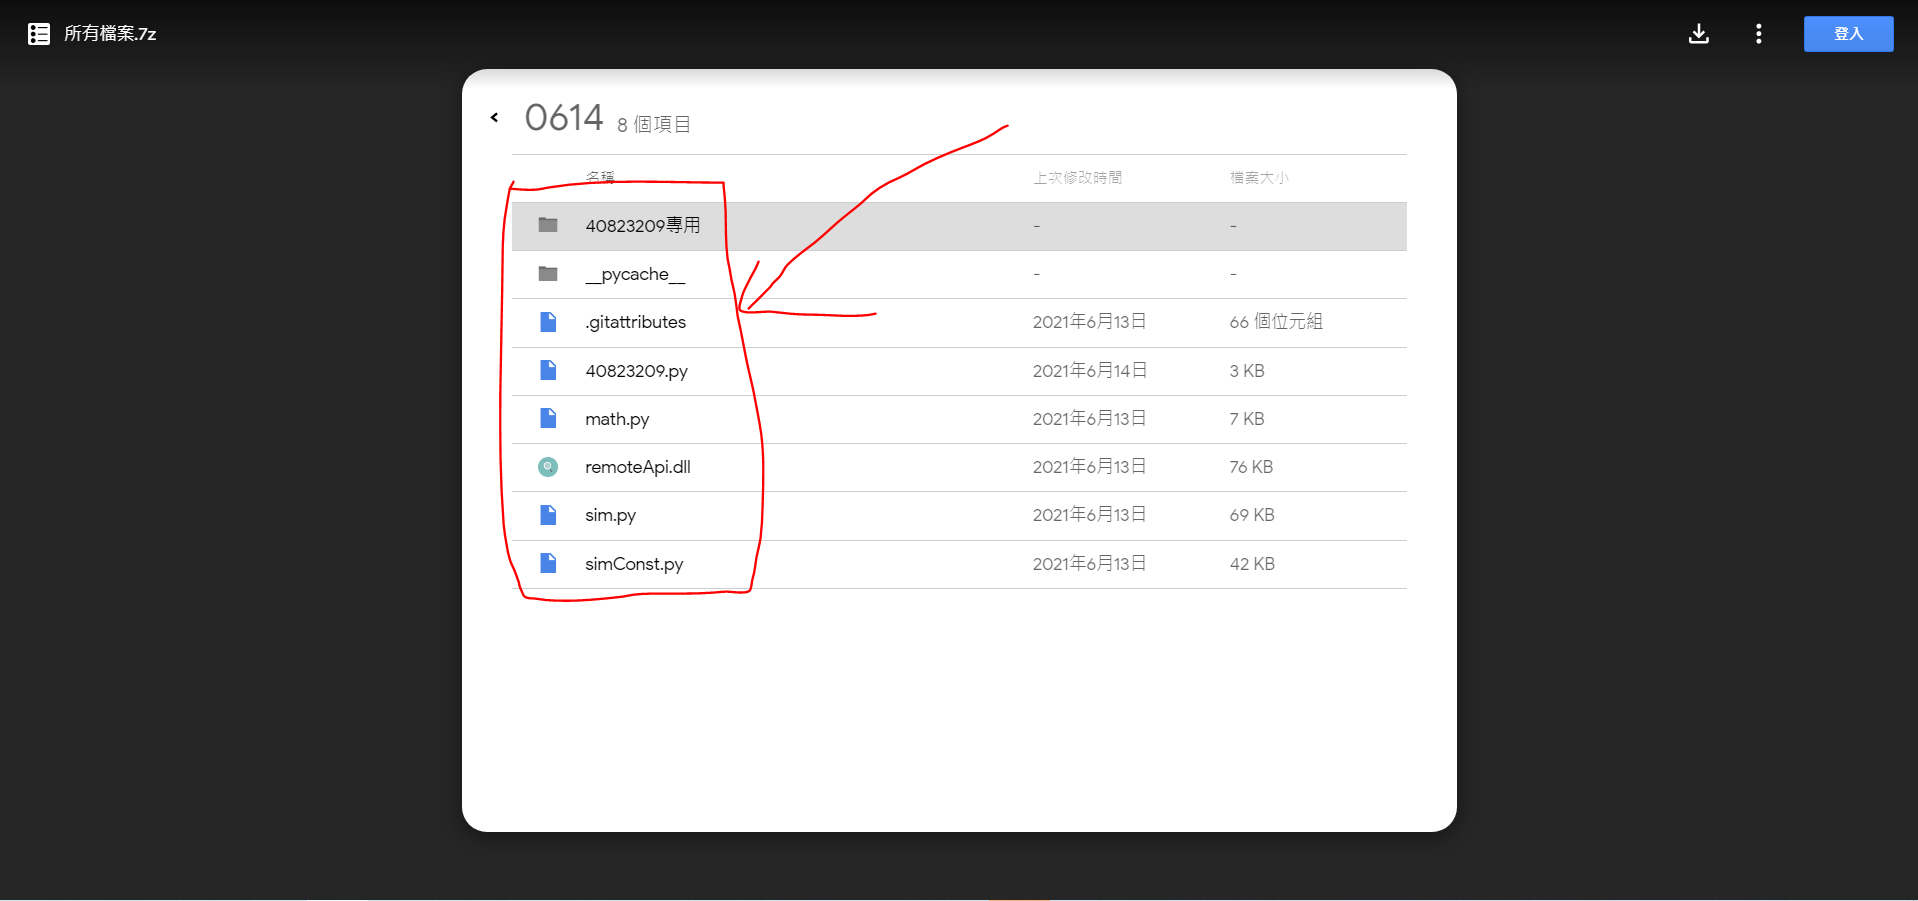
Google Drive:所有檔案
以下是我「所有檔案」的檔案內容,有需要的同學們可以點下載參考。
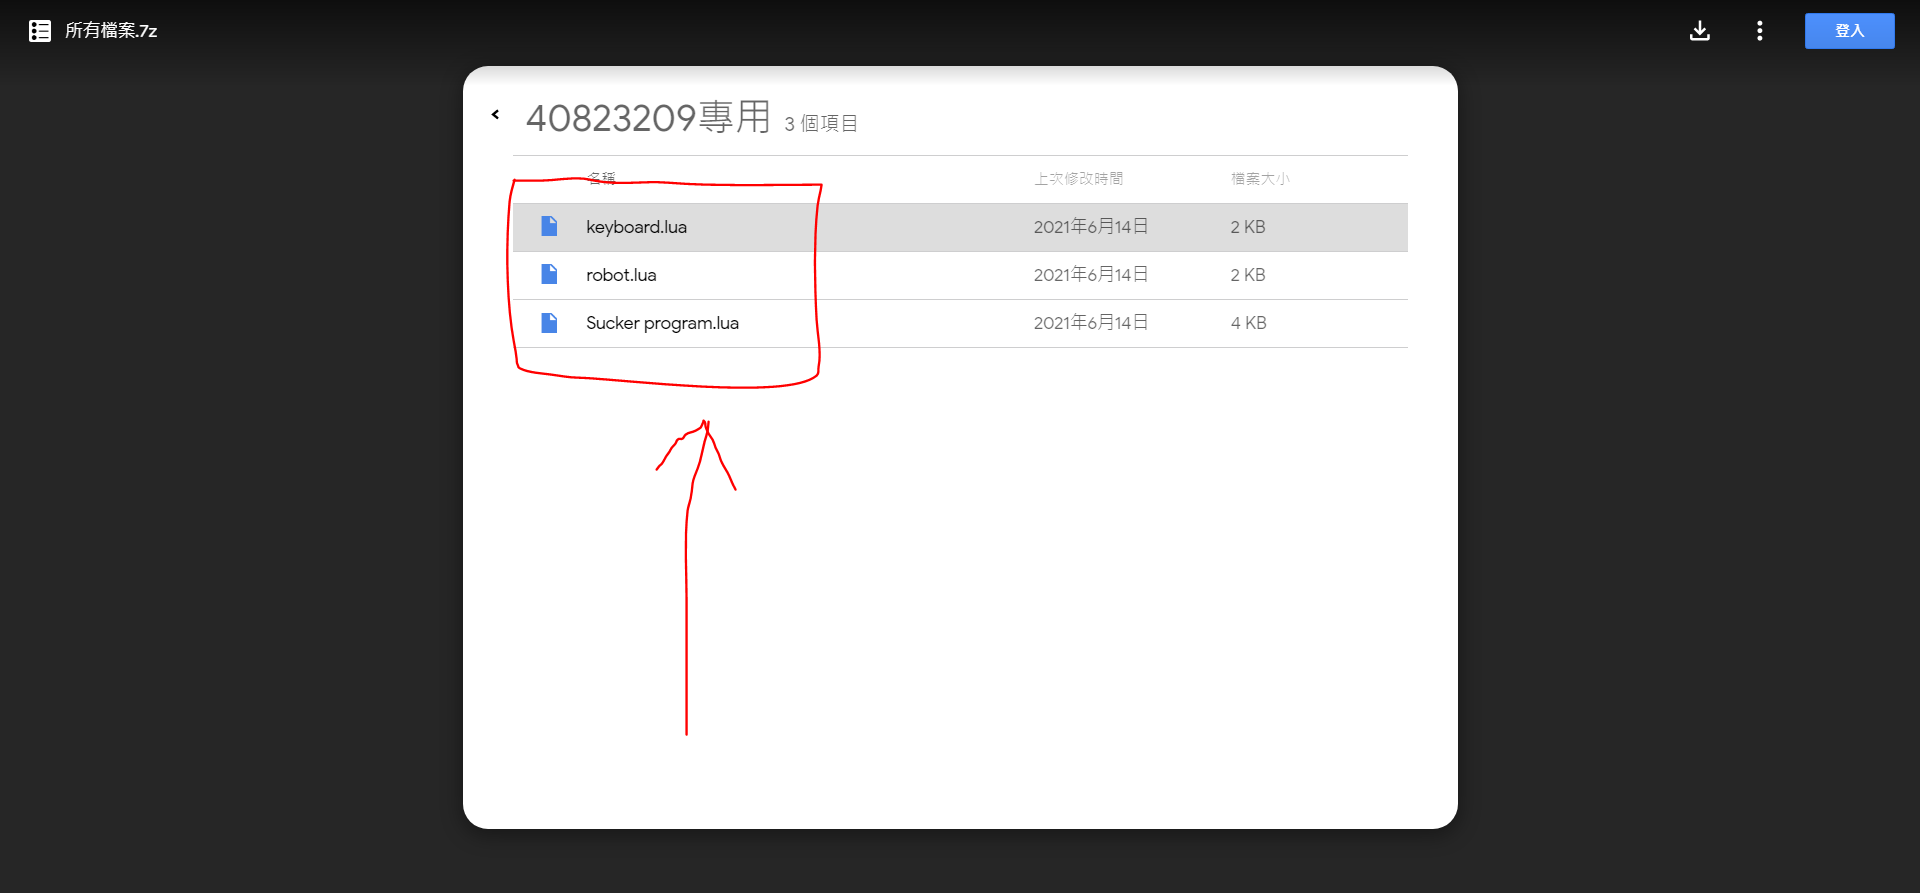
Leo檔:鍵盤操作
可用鍵盤控制的程式的基本操作:
方向鍵左-軸1左轉
方向鍵右-軸1右轉
方向鍵上-軸2左轉
方向鍵下-軸2右轉
S-吸盤向下
W-吸盤向上並吸取
空白鍵-放下
function sysCall_init()
    joint1=sim.getObjectHandle('joint1')
    joint2=sim.getObjectHandle('joint2')
    jointz=sim.getObjectHandle('jointz')
    joint3=sim.getObjectHandle('joint3')
    sim.setJointTargetPosition(joint1,0)
    sim.setJointTargetPosition(joint2,0)
    sim.setJointTargetPosition(joint3,0)
    sim.setJointTargetPosition(jointz,0)
    deg1=0
    deg2=0
    deg3=0
end

function sysCall_actuation()
    message,auxiliaryData=sim.getSimulatorMessage()
    while message~=-1 do
        if (message==sim.message_keypress) then
            if (auxiliaryData[1]==2009) then
            deg1=deg1+1
            deg3=deg2-deg1
            sim.setJointTargetPosition(joint1,deg1*math.pi/180)
            end
            if (auxiliaryData[1]==2010) then
            deg1=deg1-1
            deg3=deg2-deg1
            sim.setJointTargetPosition(joint1,deg1*math.pi/180)
            end
            if (auxiliaryData[1]==2007) then
            deg2=deg2+1
            deg3=deg1-deg2
            sim.setJointTargetPosition(joint2,deg2*math.pi/180)
            end
            if (auxiliaryData[1]==2008) then
            deg2=deg2-1
            deg3=deg1-deg2
            sim.setJointTargetPosition(joint2,deg2*math.pi/180)
            end
            if (auxiliaryData[1]==115) then
                sim.setJointTargetPosition(jointz,-0.085)
                sim.setIntegerSignal("pad_switch",1)
            end
            if (auxiliaryData[1]==119) then
                sim.setJointTargetPosition(jointz,0)
            end
            if (auxiliaryData[1]==32) then
                sim.setIntegerSignal("pad_switch",0)
            end
            sim.setJointTargetPosition(joint3,deg3*math.pi/180)
        end
    message,auxiliaryData=sim.getSimulatorMessage()
    end
end
-------------------------------------------------------------------------------------------
以下是參考老師提供的程式,藉由鍵盤按鍵操作機械手臂的轉向。
if (auxiliaryData[1]==114) then --r right turn in degree
                    -- if key r pressed axis1 angle adds 5 degrees
                     rotation1 = rotation1 + 5*deg
                     sim.setJointPosition(axis1, rotation1)
                end -- if r
                if (auxiliaryData[1]==108) then --l left turn in degree
                    -- if key l pressed axis1 angle substract 5 degrees
                     rotation1 = rotation1 - 5*deg
                     sim.setJointPosition(axis1, rotation1)
                end -- if l
                if (auxiliaryData[1]==100) then --d suction pad down
                    -- if key d pressed axis3 will down 0.01 m plus calibration
                     distance3 = distance3 + 0.01 + calibration
                     sim.setJointPosition(axis3, distance3)
                end -- if d
                if (auxiliaryData[1]==117) then --u suction pad up
                    -- if key u pressed axis3 will up 0.01 m minus calibration
                    -- 吸盤往下升 1 公分加上校正值
                     distance3 = distance3 - 0.01 - calibration
                     sim.setJointPosition(axis3, distance3)
                end -- if u
項目3 : 手臂末端加入 components-gripper-suction pad 吸盤
在其機械手臂末端接上 force sensor 後接上標準 suction pad ,使其可以取放方塊。
驅動程式參數:
根據每個人所做的機械手臂大小不同,吸盤軸下降高度也會有所不同
像是我 jointz 的參數改為-0.055m
function moving(x,y)
    a=0.4
    b=0.4
    c=math.pow((math.pow(x,2)+math.pow(y,2)),0.5)
    s=(a+b+c)/2
    area=math.pow((s*(s-a)*(s-b)*(s-c)),0.5)
    h=area/(2*c)
    deg1_base=math.atan(x/y)
    if x<0 and y<0 then
        deg1_base=deg1_base+math.pi
    end
    deg1_tri=math.asin(h/a)
    deg1=deg1_base+deg1_tri
    deg2=math.pi-(0.5*math.pi-deg1_tri)-math.acos(h/b)
    deg3=deg2-deg1
    print(deg1)
    sim.setJointTargetPosition(joint01,deg1)
    sim.setJointTargetPosition(joint02,-deg2)
    sim.setJointTargetPosition(joint03,deg3)
end

function sysCall_threadmain()
    joint01=sim.getObjectHandle('joint1')
    joint02=sim.getObjectHandle('joint2')
    joint03=sim.getObjectHandle('joint3')
    jointz=sim.getObjectHandle('jointz')
    sim.setJointTargetPosition(joint01,0)
    sim.setJointTargetPosition(joint02,0)
    sim.setJointTargetPosition(joint03,0)
    sim.setJointTargetPosition(jointz,0)
    sim.setIntegerSignal("pad_switch",1)
    sim.setJointTargetPosition(jointz,-0.085)
    sim.wait(2)
    sim.setJointTargetPosition(jointz,0)
    while sim.getSimulationState()~=sim.simulation_advancing_abouttostopre do
    moving(0.2,0.7)
    sim.wait(2)
    sim.setIntegerSignal("pad_switch",0)
    sim.wait(2)
    sim.setIntegerSignal("pad_switch",1)
    sim.setJointTargetPosition(jointz,-0.085)
    sim.wait(2)
    sim.setJointTargetPosition(jointz,0)
    sim.wait(2)
    moving(-0.3,-0.55)
    sim.wait(2)
    sim.setIntegerSignal("pad_switch",0)
    sim.wait(2)
    sim.setIntegerSignal("pad_switch",1)
    sim.setJointTargetPosition(jointz,-0.085)
    sim.wait(2)
    sim.setJointTargetPosition(jointz,0)
    sim.wait(2)
    end
end
----------------------------------------------------------------------------------------------------
以下是參考同學40823214提供的程式
 maxPullForce=sim.getScriptSimulationParameter(sim.handle_self,'maxPullForce')
    maxShearForce=sim.getScriptSimulationParameter(sim.handle_self,'maxShearForce')
    maxPeelTorque=sim.getScriptSimulationParameter(sim.handle_self,'maxPeelTorque')

    sim.setLinkDummy(l,-1)
    sim.setObjectParent(l,b,true)
    m=sim.getObjectMatrix(l2,-1)
    sim.setObjectMatrix(l,-1,m)
end

function sysCall_cleanup()
    --this is teach by 40823214
    sim.setLinkDummy(l,-1)
    sim.setObjectParent(l,b,true)
    m=sim.getObjectMatrix(l2,-1)
    sim.setObjectMatrix(l,-1,m)
end

function sysCall_sensing()
    parent=sim.getObjectParent(l)
    --this is teach by 40823214
    local sig=sim.getIntegerSignal("pad_switch")
    if (not sig) or (sig==0) then
        if (parent~=b) then
            sim.setLinkDummy(l,-1)
            sim.setObjectParent(l,b,true)
            m=sim.getObjectMatrix(l2,-1)
            sim.setObjectMatrix(l,-1,m)
        end
    else
        if (parent==b) then
            index=0
            while true do
                shape=sim.getObjects(index,sim.object_shape_type)
                if (shape==-1) then
                    break
                end
                local res,val=sim.getObjectInt32Parameter(shape,sim.shapeintparam_respondable)
                if (shape~=b) and (val~=0) and (sim.checkProximitySensor(s,shape)==1) then
                    -- Ok, we found a respondable shape that was detected
                    -- We connect to that shape:
                    -- Make sure the two dummies are initially coincident:
                    sim.setObjectParent(l,b,true)
                    m=sim.getObjectMatrix(l2,-1)
                    sim.setObjectMatrix(l,-1,m)
                    -- Do the connection:
                    sim.setObjectParent(l,shape,true)
                    sim.setLinkDummy(l,l2)
                    break
                end
                index=index+1
            end
        else
            -- Here we have an object attached
            if (infiniteStrength==false) then
                -- We might have to conditionally beak it apart!
                result,force,torque=sim.readForceSensor(suctionPadLink) -- Here we read the median value out of 5 values (check the force sensor prop. dialog)
                if (result>0) then
                    breakIt=false
                    if (force[3]>maxPullForce) then breakIt=true end
                    sf=math.sqrt(force[1]*force[1]+force[2]*force[2])
                    if (sf>maxShearForce) then breakIt=true end
                    if (torque[1]>maxPeelTorque) then breakIt=true end
                    if (torque[2]>maxPeelTorque) then breakIt=true end
                    if (breakIt) then
                        -- We break the link:
                        sim.setLinkDummy(l,-1)
                        sim.setObjectParent(l,b,true)
                        m=sim.getObjectMatrix(l2,-1)
                        sim.setObjectMatrix(l,-1,m)
                    end
                end
            end
        end
    end
end
項目4 : 逆向運算學函式
透過 Leo Editor Lua 程式編寫方法,以程式指定方塊取放之兩個位置 - (0.2, 0.7, 0.05) 與 (-0.3, -0.55, 0.05)。
function moving(x,y)
    a=0.4
    b=0.4
    c=math.pow((math.pow(x,2)+math.pow(y,2)),0.5)
    s=(a+b+c)/2
    area=math.pow((s*(s-a)*(s-b)*(s-c)),0.5)
    h=area/(2*c)
    deg1_base=math.atan(x/y)
    if x<0 and y<0 then
        deg1_base=deg1_base+math.pi
    end
    deg1_tri=math.asin(h/a)
    deg1=deg1_base+deg1_tri
    deg2=math.pi-(0.5*math.pi-deg1_tri)-math.acos(h/b)
    deg3=deg2-deg1
    print(deg1)
    sim.setJointTargetPosition(joint01,deg1)
    sim.setJointTargetPosition(joint02,-deg2)
    sim.setJointTargetPosition(joint03,deg3)
end

function sysCall_threadmain()
    joint01=sim.getObjectHandle('joint1')
    joint02=sim.getObjectHandle('joint2')
    joint03=sim.getObjectHandle('joint3')
    jointz=sim.getObjectHandle('jointz')
    sim.setJointTargetPosition(joint01,0)
    sim.setJointTargetPosition(joint02,0)
    sim.setJointTargetPosition(joint03,0)
    sim.setJointTargetPosition(jointz,0)
    sim.setIntegerSignal("pad_switch",1)
    sim.setJointTargetPosition(jointz,-0.055)
    sim.wait(3)
    sim.setJointTargetPosition(jointz,0)
    while sim.getSimulationState()~=sim.simulation_advancing_abouttostopre do
    moving(0.2,0.7)
    sim.wait(3)
    sim.setIntegerSignal("pad_switch",0)
    sim.wait(3)
    sim.setIntegerSignal("pad_switch",1)
    sim.setJointTargetPosition(jointz,-0.055)
    sim.wait(3)
    sim.setJointTargetPosition(jointz,0)
    sim.wait(3)
    moving(-0.3,-0.55)
    sim.wait(3)
    sim.setIntegerSignal("pad_switch",0)
    sim.wait(3)
    sim.setIntegerSignal("pad_switch",1)
    sim.setJointTargetPosition(jointz,-0.055)
    sim.wait(3)
    sim.setJointTargetPosition(jointz,0)
    sim.wait(3)
    end
end
項目5 : Python remote API 逆向運動學函式
利用 Python remote API 程式重現以迴圈方式執行,將程式放入小白窗按 Tools→Go 來執行。
import sim as vrep
import math
import random
import time
import math

def moving(x,y):
    a=0.4
    b=0.4
    c=math.pow((math.pow(x,2)+math.pow(y,2)),0.5)
    s=(a+b+c)/2
    area=math.pow((s*(s-a)*(s-b)*(s-c)),0.5)
    h=area/(2*c)
    deg1_base=math.atan(x/y)
    if x<0 and y<0 :
        deg_base1=deg1_base+math.pi

    deg1_tri=math.asin(h/a)
    deg1=deg1_base+deg1_tri
    deg2=math.pi-(0.5*math.pi-deg1_tri)-math.acos(h/b)
    deg3=deg2-deg1
    vrep.simxSetJointTargetPosition(clientID,joint01,deg1,opmode)
    vrep.simxSetJointTargetPosition(clientID,joint02,-deg2,opmode)
    vrep.simxSetJointTargetPosition(clientID,joint03,deg3,opmode)

print ('Start')

vrep.simxFinish(-1)

clientID = vrep.simxStart('127.0.0.1', 19997, True, True, 5000, 5)

if clientID != -1:
    print ('Connected to remote API server')

    res = vrep.simxAddStatusbarMessage(
        clientID, "This is teach by 40823214 ",
        vrep.simx_opmode_oneshot)
    if res not in (vrep.simx_return_ok, vrep.simx_return_novalue_flag):
        print("Could not add a message to the status bar.")


    opmode = vrep.simx_opmode_oneshot_wait
    STREAMING = vrep.simx_opmode_streaming


    vrep.simxStartSimulation(clientID, opmode)
    ret,joint01=vrep.simxGetObjectHandle(clientID,"joint1",opmode)
    ret,joint02=vrep.simxGetObjectHandle(clientID,"joint2",opmode)
    ret,joint03=vrep.simxGetObjectHandle(clientID,"joint3",opmode)
    ret,jointz=vrep.simxGetObjectHandle(clientID,"jointz",opmode)

    vrep.simxSetJointTargetPosition(clientID,joint01,0,opmode)
    vrep.simxSetJointTargetPosition(clientID,joint02,0,opmode)
    vrep.simxSetJointTargetPosition(clientID,joint03,0,opmode)
    vrep.simxSetIntegerSignal(clientID,"pad_switch",1,opmode)
    vrep.simxSetJointTargetPosition(clientID,jointz,-0.055,opmode)
    time.sleep(2)
    vrep.simxSetJointTargetPosition(clientID,jointz,0,opmode)

    while True:
        moving(0.2,0.7)
        time.sleep(2)
        vrep.simxSetIntegerSignal(clientID,"pad_switch",0,opmode)
        time.sleep(2)
        vrep.simxSetIntegerSignal(clientID,"pad_switch",1,opmode)
        vrep.simxSetJointTargetPosition(clientID,jointz,-0.055,opmode)
        time.sleep(2)
        vrep.simxSetJointTargetPosition(clientID,jointz,0,opmode)
        moving(-0.3,-0.6)
        time.sleep(2)
        vrep.simxSetIntegerSignal(clientID,"pad_switch",0,opmode)
        time.sleep(2)
        vrep.simxSetIntegerSignal(clientID,"pad_switch",1,opmode)
        vrep.simxSetJointTargetPosition(clientID,jointz,-0.055,opmode)
        time.sleep(2)
        vrep.simxSetJointTargetPosition(clientID,jointz,0,opmode)
心得:
以我這位初學者的角度出發,這條路真的難上加難,寫程式時常常遇到挫折,同時要學會Onshape、Coppeliasim確實不簡單,不過這一路上特別感謝40823214這位同學,他又讓我重新振作起來,他也常利用課後時間教導我們班上的同學,而且有問必有答,教學上還不吝嗇,他也會將它教學影片放上Youtube讓我們可以自行學習,在此特別感謝他,最後我也確實在這門課學習到很多知識,也期望後續能利用這門所學的技能,在未來社會中學以致用。
40823214的30人協同的教學影片,當時我也有參與其中,以下共有3部影片
-----------------------------------------------------------------------------------------------------
以下我再次統總所有載點,供有需要下載的人
項目1-機械手臂3D檔(STL檔)
項目2-鍵盤操作(lua程式)
項目3-吸盤程式(txt檔)
項目4-軟體內運作(lua程式)
項目5-Python remote API 驅動(PY程式)
所有程式
W15 <<
Previous Next >> W17